1. Preparation stage
Confirm the chip model and programming interface (such as SWD, JTAG, UART, SPI, etc.).
Select the appropriate burning tool (such as ST-Link, J-Link, AVR ISP).
Get and verify the firmware to ensure that there are no errors.
2. Burning process
① Connect the hardware: Connect the PCBA to the computer or test tooling through the burner.
② Load the firmware: Use the burning software (such as Keil, STM32CubeProgrammer) to import the HEX/BIN file.
③ Burn and verify: Perform burning and perform CRC or MD5 verification to ensure data integrity.
3. Testing and mass production
Perform functional testing to confirm that the chip is running normally.
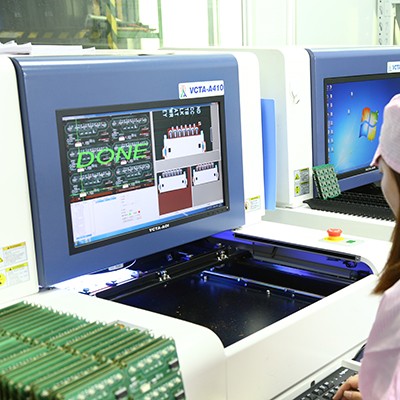
Automatic burning equipment can be used to improve efficiency in mass production.
Record the burning log to ensure quality traceability.


